Exporting RAW for Print vs Web: TIFF, JPG, or PNG?
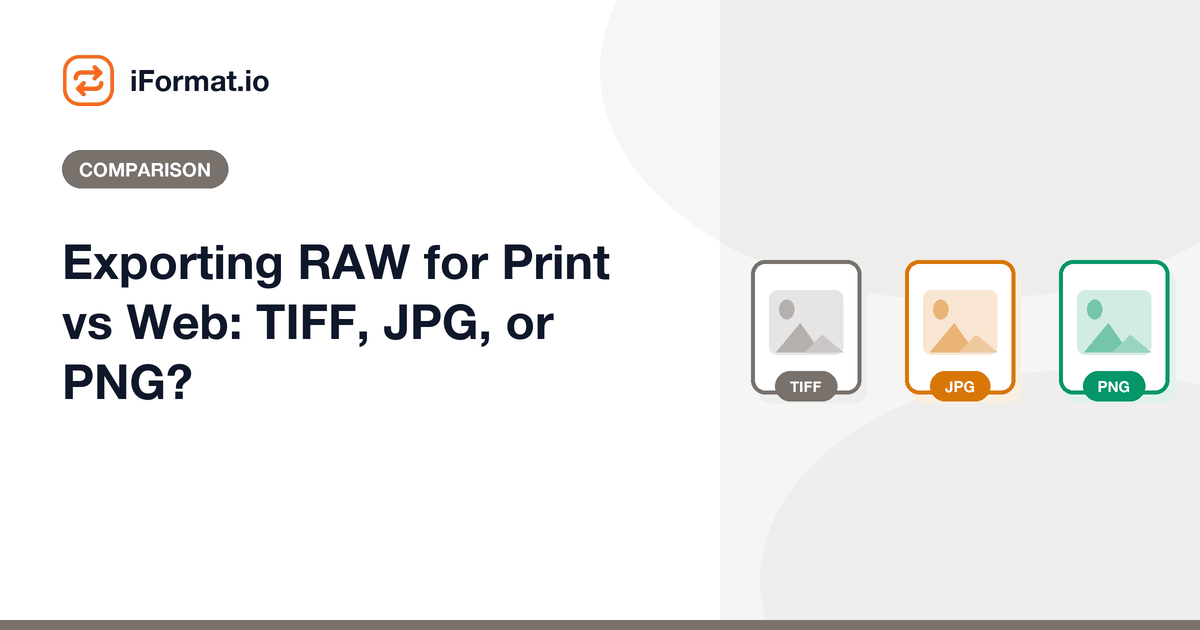
You've spent 20 minutes editing a photo in Lightroom. The colour grading is perfect, the exposure is dialled in, the crop is exactly right. Now you click Export and you're staring at a format dropdown: TIFF, JPEG, PNG, PSD, DNG. Each has different compression, bit depth, and colour space options. Choose wrong and your print comes out dull, your web upload takes forever to load, or your graphic designer sends the file back asking for a different format.
The right export format depends entirely on what happens to the file next. Print workflows and web workflows need fundamentally different things, and understanding why keeps you from guessing every time you hit Export.
The export decision tree
Here's the short version:
Going to a professional printer or print lab? → TIFF, 16-bit, Adobe RGB or ProPhoto RGB colour space, 300 DPI.
Going to a website, social media, or email? → JPG, 8-bit, sRGB colour space, 72–150 DPI (the DPI doesn't actually matter for screen display, but some platforms check it).
Going into a design tool like InDesign, Illustrator, or Figma? → PNG for transparency needs, TIFF for everything else. Ask the designer what they prefer — different workflows expect different inputs.
Going into another editing application? → TIFF 16-bit to preserve the maximum editing latitude. Or keep it in the RAW format and open it in the other app directly — most modern editors handle most RAW formats natively.
Client delivery (general)? → Both. Give them full-res TIFFs or high-quality JPGs for print use, plus web-sized JPGs for social media and web. Clients almost always need both.
Colour space matters more than format
The most common print mistake isn't choosing the wrong file format — it's exporting in sRGB when the printer expects Adobe RGB. sRGB covers about 35% of the visible colour gamut. Adobe RGB covers about 50%. ProPhoto RGB covers about 90%. A photo that looks vibrant on your screen (sRGB display) can print flat if the printer was set up for a wider gamut and your file doesn't contain the wider colour data. Always ask the printer which colour space and ICC profile they want.
TIFF: the print workhorse
TIFF (Tagged Image File Format) is the standard for print-quality exports. It supports 16-bit colour depth (65,536 tonal values per channel versus JPG's 256), lossless compression, embedded ICC profiles, and layer data. A 24-megapixel photo exported as a 16-bit TIFF with LZW compression runs about 50–70 MB. Without compression, it's 100+ MB.
That file size is enormous for web use, which is exactly why you don't put TIFFs on a website. But for print, the extra data translates to smoother gradients (no banding in skies or skin tones) and more headroom if the print lab needs to do last-minute adjustments to match their paper and ink profiles.
TIFF is defined by the TIFF 6.0 specification (Adobe, 1992) and has been the print industry standard for three decades. Every print lab, every pre-press operator, every large-format printer accepts TIFF without question. It's the format equivalent of speaking English in international business — everyone understands it.
TIFF also supports multiple pages, transparency (alpha channels), and various compression algorithms (LZW, ZIP, none). For maximum compatibility with print labs, use LZW compression or no compression. ZIP compression is occasionally mishandled by older RIP software.
JPG: the web standard
JPG (ISO 10918-1) is lossy — it throws away data to achieve small file sizes. A 24-megapixel photo exported as a JPG at quality 92 lands at about 5–8 MB. At quality 80, it's 2–4 MB. At quality 60 (the point where compression artefacts start becoming visible in detailed areas), it's under 1 MB.
For web use, JPG at quality 85–92 is the sweet spot. The compression artefacts are invisible at normal viewing sizes on a screen, and the file loads fast on any connection speed. Always export in sRGB colour space for web — most browsers and monitors work in sRGB, and images in Adobe RGB or ProPhoto RGB can look desaturated on unmanaged displays (which is most consumer displays).
You can convert your RAW files to JPG directly using the RAW to JPG conversion guide or the image converter.
JPG doesn't support transparency. If your image needs transparent areas (a product cutout, a logo overlay), JPG isn't the right format. Use PNG for web transparency or TIFF for print transparency.
PNG: when you need transparency or lossless on the web
PNG is lossless and supports transparency (alpha channel). Use PNG for:
Logos, icons, and graphics with sharp edges and flat colours — PNG's lossless compression preserves crisp lines that JPG would blur with DCT artefacts.
Images that need a transparent background — after removing the background from a photo, PNG is the only common web format that preserves the transparency.
Screenshots and text-heavy images: the hard edges of rendered text compress well with PNG and poorly with JPG (text rendered at small sizes gets particularly mushy under JPG compression).
Don't use PNG for regular photographs on the web. A 24-megapixel photo as a PNG is 20–40 MB — absurdly large for web delivery. JPG gives you a visually identical result at 3–5 MB. The lossless compression of PNG doesn't compress photographic content efficiently because the pixel-to-pixel variation is too high for PNG's prediction filters to exploit.
Export settings for common print products
Photo prints (4×6, 5×7, 8×10) — TIFF or JPG quality 100, 300 DPI, Adobe RGB. Most consumer print labs (Shutterfly, Snapfish, Walgreens) also accept high-quality JPG, which is fine for standard prints. At 4 × 6 inches and 300 DPI, that's 1200 × 1800 pixels — any modern camera exceeds this easily.
Large format / fine art (16×20, 24×36, canvas) — TIFF 16-bit, 300 DPI minimum (360 DPI for Epson printers), ProPhoto RGB or Adobe RGB. Large prints reveal compression artefacts that small prints hide. At 24 × 36 inches and 300 DPI, you need 7200 × 10800 pixels — that's a 78-megapixel image. Most cameras can't provide this natively, but 240 DPI is acceptable for large prints viewed from a few feet away.
Magazine / editorial — TIFF or high-quality JPG, 300 DPI, CMYK colour space (the printer or publisher will specify). Some publications want you to submit in RGB and they handle the CMYK conversion internally using their press profiles.
Photobook (Blurb, Artifact Uprising, etc.) — JPG quality 95+, sRGB or Adobe RGB, 300 DPI. Most photobook services recommend sRGB because their printing pipeline is optimised for it.
RAW to JPG for web: recommended export settings
In Lightroom: Export → File Settings → Image Format: JPEG, Quality: 90, Colour Space: sRGB. Under Image Sizing, check 'Resize to Fit' and set Long Edge to 2048 px (a good balance between quality and file size for web). Output sharpening: Sharpen for Screen, Standard amount.
In Capture One: File → Export Images → Recipe → JPEG, Quality: 90, ICC Profile: sRGB. Set width or long edge to 2048 px.
These settings produce files in the 500 KB to 2 MB range — fast to load on any device while retaining enough detail for a full-screen display on a 4K monitor. For social media, resize further to the specific platform dimensions (see the social media image sizes guide).
If you need to batch-convert a large shoot, Lightroom's export presets or the image converter can handle the entire set at once.
Frequently asked questions
Does DPI matter for web images?
No. Web browsers ignore DPI entirely — they display images based on pixel dimensions only. A 1920 × 1080 image at 72 DPI looks identical to a 1920 × 1080 image at 300 DPI on a web page. The file content is the same; the DPI tag is just metadata. DPI only matters for print, where it determines physical output size.
Can I submit a JPG to a print lab?
Most consumer print labs accept JPG and the results are fine for standard prints up to 8 × 10 inches. For large format or fine art printing, use TIFF to avoid any compression artefacts that become visible at large sizes and to preserve the maximum colour data.
What about WebP?
WebP is a modern web format that offers better compression than JPG at the same visual quality: typically 25–30% smaller files. It's supported by all major browsers. Use it if your web platform supports it, but always keep a JPG or TIFF master. WebP isn't suitable for print, and some desktop apps still don't open it.
Should I keep my RAW files after exporting?
Always. RAW files are your digital negatives. The exported TIFF or JPG is a derivative — if you ever need to re-edit or re-export at different settings, you want the original RAW data intact. Storage is cheap; RAW data is irreplaceable.
What bit depth should I export at?
16-bit for TIFF going to print or further editing. 8-bit for JPG (it's the only option — JPG doesn't support 16-bit). 8-bit for PNG going to web. The extra bit depth in a 16-bit TIFF matters for gradient-heavy images (skies, studio backdrops) where 8-bit can show banding.
Convert and Compress Images
Convert between TIFF, JPG, PNG, and WebP with full quality control.