A Musician's Guide to Sharing MIDI Compositions as Audio
You've spent hours sequencing a MIDI arrangement — getting the velocity curves right on the piano part, tuning the drum pattern, balancing the string section. You export the .mid file, send it to a friend, and they reply: "it sounds like a toy keyboard."
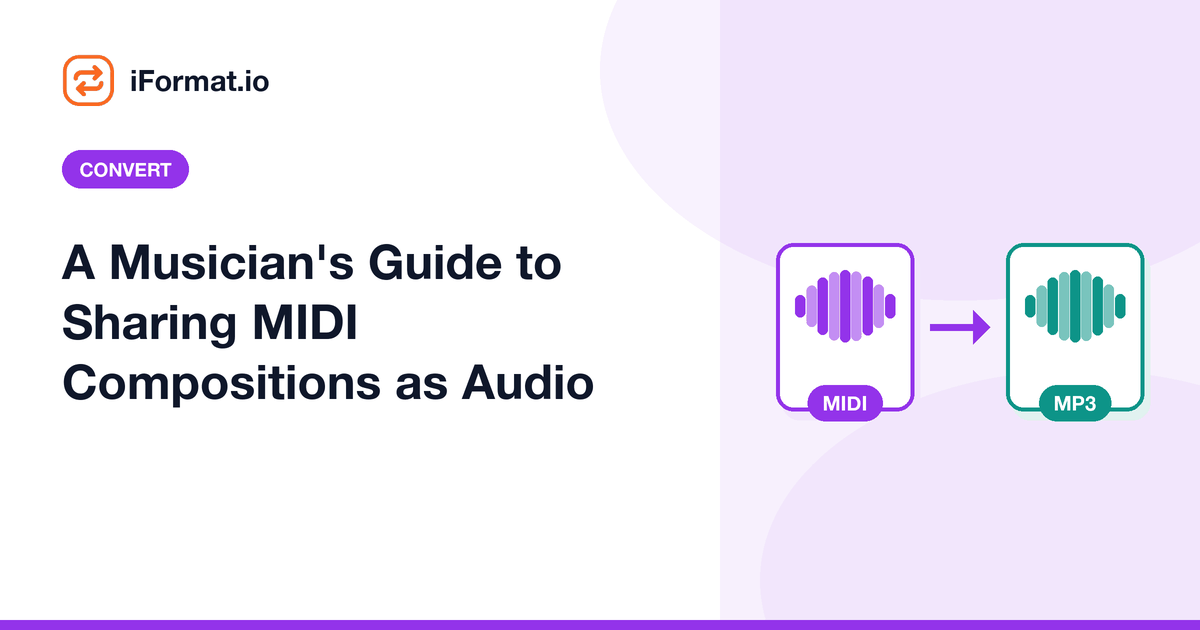
That's not a reflection of your work. It's the fundamental problem with sharing MIDI: your friend's computer used completely different instrument sounds than yours did. The fix is straightforward — render the MIDI to an audio file before sharing.
Why MIDI sounds different on every machine
A MIDI file is a sequence of performance instructions — note events, program changes, control changes, tempo maps. It specifies which notes to play, when, how hard, and on which channel. What it doesn't specify is the actual sound.
When your DAW plays the MIDI file, it routes those instructions to whatever virtual instruments you've loaded — maybe Keyscape for the piano, Spitfire for strings, Superior Drummer for percussion. Each of those is a multi-gigabyte sample library that produces studio-quality sound.
When your friend opens the same .mid file in Windows Media Player, those instructions go to the Microsoft GS Wavetable Synth: a bare-bones General MIDI SoundFont that ships with Windows. It has the same 128 instrument slots defined by the General MIDI spec, but the samples behind each slot are tiny, dry, and lifeless compared to your production libraries.
The gap between what you hear and what they hear can be massive.
Rendering MIDI to audio: the right workflow
The goal is to capture your MIDI performance as a fixed audio recording, so every listener hears exactly the same thing regardless of their playback setup.
Step 1: Get the arrangement finalized. Make all your edits in your MIDI sequencer or DAW first. Adjust velocities, quantize if needed, set the tempo map, assign the instruments you want on each channel. Listen through the whole piece at least once to catch any notes that slipped out of key or velocities that spike too high.
Step 2: Choose your rendering method. If you're working in a DAW like Logic Pro, Ableton Live, FL Studio, or Reaper, use the built-in bounce/export function. This captures the audio output of all your virtual instruments exactly as you hear them in your session. This is the highest-quality approach because you control every aspect of the sound.
Step 3: Pick the output format. More on this below, but the short version: MP3 for sharing casually, WAV or FLAC for quality-sensitive contexts.
Choosing the output format for sharing
MP3 (192-320 kbps) is the practical choice for most sharing. Everyone can play it — phones, computers, car stereos, Discord, email. A five-minute track at 256 kbps is about 10 MB. Use 320 kbps if you want the highest quality MP3 can offer; below 192 kbps, synthesized instruments can start sounding artifacts — cymbals get washy, piano attacks lose clarity.
FLAC is the move if you're sharing with other musicians or posting to a platform that accepts lossless uploads (Bandcamp does). The decoded audio is identical to your rendered WAV, and file sizes are roughly half of uncompressed. Our lossless format comparison covers the details.
WAV is standard for collaboration. If you're sending stems to another producer or a mix engineer, WAV is what they expect. No metadata tagging issues, no decoder differences, just raw audio. It's large, but that's fine for professional exchange.
Getting the best sound from General MIDI
Not everyone has a $500 sample library. If you're rendering through a General MIDI SoundFont, either locally or through an online converter, a few MIDI editing tricks make a real difference:
Use velocity variation. Real instruments aren't played at constant velocity. Vary your note velocities between about 60 and 110 (out of 127) to create dynamic expression. Even a cheap SoundFont responds to velocity layers, and flat velocity makes everything sound mechanical.
Add sustain pedal events. For piano parts, CC64 (sustain pedal) messages transform the sound from choppy to connected. Most SoundFonts implement sustain, and the difference is dramatic.
Watch your polyphony. General MIDI requires a minimum of 24 voices of polyphony. If you've written dense orchestral sections with 16 channels all playing chords, cheaper synthesizers might start dropping notes. Simplify the arrangement for channels that are background texture: the listener won't miss individual notes in a pad, but they will notice if the melody cuts out.
Pan your channels. MIDI CC10 controls panning. Spread your instruments across the stereo field — strings slightly left, brass slightly right, drums centered. It makes a General MIDI render sound immediately more professional.
Where to share your audio renders
Once you've got an MP3 or FLAC, you can share anywhere:
SoundCloud accepts MP3, FLAC, WAV, and others. It transcodes to 128 kbps MP3 for streaming (or 256 kbps for paid tiers), so upload the highest quality you have — SoundCloud's encoder works better with a lossless source.
Bandcamp is excellent for musicians. Upload FLAC or WAV, and Bandcamp generates all the streaming and download formats for you. Listeners can choose MP3, FLAC, or whatever they prefer.
YouTube is viable too. Pair your audio with a static image or simple visualizer and upload as a video. YouTube's algorithm is friendly to music content, and it's where many people discover new music.
Discord, forums, email: just attach the MP3. Keep files under 25 MB for email and 50 MB for standard Discord.
Adding reverb and polish before sharing
Raw MIDI renders, especially from General MIDI SoundFonts, sound dry and flat because the samples have no room ambience baked in. A little reverb goes a long way toward making the output sound like a real performance rather than a bunch of isolated samples pasted together.
If you're rendering in a DAW, drop a reverb plugin on the master bus. A medium hall preset at about 15-20% wet mix is a safe starting point for most arrangements. For piano pieces, you might push it to 25-30% to simulate a concert hall. For tight pop or rock arrangements, keep it subtle, 10-15%, or skip it entirely.
A limiter on the master bus is also worth adding. MIDI arrangements can have unexpected dynamic spikes when multiple instruments hit loud notes simultaneously. A limiter set at -0.5 dBFS catches those peaks and prevents clipping in the output file. Most DAWs include a basic limiter; you don't need anything fancy.
If you don't have a DAW, free audio editors like Audacity can add reverb and normalization after the fact. Render the MIDI to WAV first, open the WAV in Audacity, apply reverb and normalize, then export as MP3 or FLAC. It's an extra step, but the results are noticeably better than a raw render.
Should you share the MIDI file too?
There's a case for sharing both. The audio file ensures everyone hears your intended sound. The MIDI file lets other musicians study your arrangement, learn from your techniques, or remix it with their own instruments.
If you're posting educational content or collaborating with others, including the .mid file alongside the audio render is generous and useful. If you're sharing a finished composition for listening, the audio file alone is all you need.
For the nuts and bolts of the conversion process, our guide on converting MIDI to MP3 walks through the technical details — SoundFonts, synthesis, output settings.
Frequently asked questions
Will converting MIDI to MP3 lose information?
The MIDI instructions (note events, program changes) aren't preserved in the audio file — you can't extract MIDI back from an MP3. Keep your original .mid file if you want to edit the arrangement later. The audio file is a fixed recording of one particular rendering.
Can I convert MIDI to MP3 on my phone?
Yes. Upload the .mid file to the iFormat audio converter from your phone's browser. It works on iOS and Android without installing anything.
My MIDI file uses custom instruments — will they convert correctly?
If the custom instruments are outside the General MIDI spec (patches above 127, or bank selects for GS/XG extensions), a standard converter will substitute General MIDI equivalents. For accurate reproduction of custom patches, render inside the DAW or synth that has those instruments loaded.
What bitrate should I use for MP3?
256 kbps is a solid balance of quality and file size for synthesized audio. 320 kbps is the ceiling for MP3 and costs about 20% more disk space. Below 192 kbps you'll start hearing artifacts in cymbals and high-frequency content.
Can I make my MIDI render sound more realistic?
The biggest factor is the quality of your instrument samples or SoundFont. Beyond that, humanize your velocities, add expression (CC11), use sustain pedal where appropriate, and don't quantize everything to a rigid grid — slight timing variations make instruments sound played rather than programmed.
Convert MIDI to Audio
Render your compositions as MP3 or FLAC. Free, instant conversion.