Best Video Format for YouTube, Instagram Reels and TikTok Uploads
You've spent hours shooting and editing a video. The final export looks perfect on your computer. You upload it to YouTube, Instagram, or TikTok, and the platform re-encodes it into a blurry, artifact-ridden mess. This happens because every platform re-compresses your video after upload, and if your source file isn't in the right format and settings, that re-compression makes things significantly worse. Uploading in the format each platform expects is the single most impactful thing you can do for your video quality.
YouTube — The Recommended Upload Specs
Format: MP4 with H.264 video codec and AAC audio codec (LC profile). This is what YouTube explicitly recommends. YouTube does accept MOV, AVI, WMV, FLV, WebM, and several other formats, but it processes MP4 H.264 fastest and with the least quality loss. If your video is in any other format, convert to MP4 before uploading.
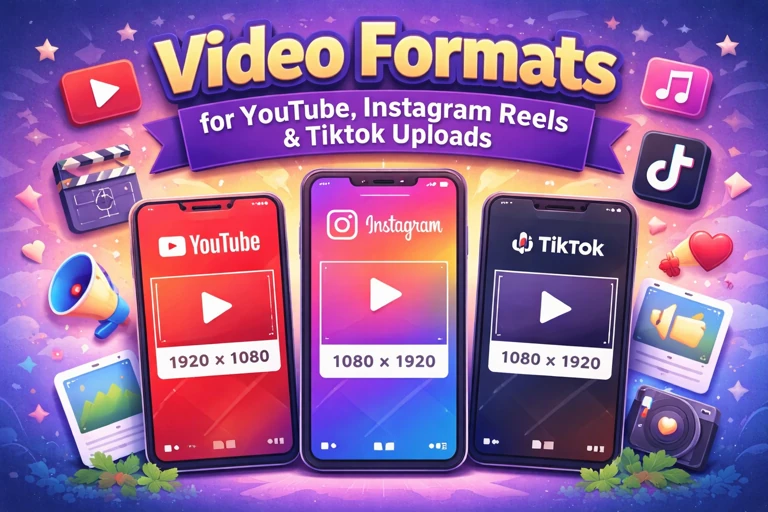
Resolution: Upload at the highest resolution you have. YouTube supports up to 8K, but the most common sweet spots are 1080p (1920x1080) and 4K (3840x2160). Here's a detail most creators miss: YouTube allocates higher bitrate to 4K uploads, even when viewers watch at 1080p. A 4K upload viewed at 1080p looks better than a native 1080p upload viewed at 1080p. If your source footage is 4K, always upload at 4K.
Frame rate: Upload at your native recording frame rate. If you shot at 24fps, upload at 24fps. If you shot at 30fps, upload at 30fps. Don't convert between frame rates — it introduces stutter. YouTube supports 24, 25, 30, 48, 50, and 60 fps. Bitrate: YouTube recommends 8 Mbps for 1080p SDR and 35-45 Mbps for 4K SDR. Higher is always better for the source file; YouTube will re-encode it anyway.
Instagram Reels — Vertical Video Done Right
Format: MP4 with H.264 video codec. Instagram technically accepts MOV as well, but MP4 is processed more reliably. Resolution: 1080 x 1920 pixels (9:16 vertical aspect ratio). Instagram Reels are designed for full-screen vertical viewing. If your video is horizontal (16:9), Instagram will either letterbox it (black bars top and bottom) or crop it, and both look unprofessional.
Frame rate: 30fps maximum. Instagram does not display above 30fps, so uploading 60fps footage means half your frames are discarded during re-encoding — wasted file size for zero quality benefit. Duration: Up to 90 seconds for Reels. File size: Under 650 MB for videos up to 10 minutes (feed posts), but keep Reels well under 100 MB for fastest processing. Large files sometimes get stuck in Instagram's upload queue.
Aspect Ratios by Platform
YouTube: 16:9 (horizontal), also supports 9:16 (Shorts). Instagram Reels: 9:16 (vertical). Instagram Feed: 1:1 (square) or 4:5 (vertical, recommended). TikTok: 9:16 (vertical). Twitter/X: 16:9 or 1:1. Always match the platform's preferred ratio to avoid cropping or letterboxing.
TikTok — What Actually Gets Uploaded
Format: MP4 or MOV. TikTok handles both well. Resolution: 1080 x 1920 pixels (9:16). TikTok aggressively compresses uploads, so starting with the highest quality source file matters even more than on YouTube. A 720p upload to TikTok will look noticeably worse than a 1080p upload after TikTok's re-encoding.
File size limits: 287.6 MB from mobile, 10 GB from the web uploader. If you have the option, always upload from the web — the file size limit is dramatically higher, and TikTok's web uploader preserves more quality than the mobile upload path. Duration: Up to 10 minutes. Frame rate: 30fps is standard, 60fps is supported but offers diminishing returns given TikTok's compression.
Why Re-Encoding Before Upload Hurts Quality
Every time a video is compressed, it loses a tiny bit of quality. Your camera records compressed video (generation 1). Your editing software exports a compressed file (generation 2). If you then convert that exported file to another format, that's generation 3. Then the platform re-encodes it on upload (generation 3 or 4). Each generation introduces more artifacts, especially in areas with motion, gradients, and fine detail.
The best practice: export from your editing software directly in the format the platform wants (MP4 H.264 for all three platforms). Don't export as ProRes or AVI and then convert — that extra step adds a generation of quality loss for no benefit. If your editing software doesn't export MP4, then a single format conversion is fine, but avoid chaining multiple conversions.
Vertical vs. Horizontal — The Creator's Dilemma
If you create content for multiple platforms, you face a fundamental question: do you shoot horizontal (16:9, ideal for YouTube) or vertical (9:16, ideal for Reels/TikTok/Shorts)? The practical answer for most creators is to shoot vertical and crop to horizontal when needed, or shoot in a wider aspect ratio and frame your subject in the centre so you can crop to either orientation in post.
Some creators shoot at 4K in 16:9 and then crop to a 9:16 vertical frame in editing — this works because 4K gives you enough resolution to crop significantly and still have a 1080p output. Others shoot separate takes for each platform. There's no perfect solution, but the worst approach is shooting horizontal and then just uploading horizontal videos to TikTok and Reels with black bars. Those videos get buried by the algorithm because they deliver a poor viewer experience.
Quick Upload Reference Card
YouTube: MP4 H.264 + AAC, 1080p or 4K, native frame rate, upload highest bitrate possible. Instagram Reels: MP4 H.264, 1080x1920 (9:16), 30fps max, under 100 MB. TikTok: MP4 or MOV, 1080x1920 (9:16), upload via web for best quality, under 10 GB from web. YouTube Shorts: MP4 H.264, 1080x1920 (9:16), under 60 seconds. All platforms: Export directly from your editor in the target format. Avoid unnecessary re-encoding. Upload the highest quality source file the platform accepts — let them do the compression, not you.